Create a Paginated Custom Post Query in Builderius

If you’ve been using WordPress for a while, you’ve probably encountered WordPress post queries. It is also known as The Loop, Post Loop, Post List, Post Query, or WP Query. The WordPress posts query retrieves a list of posts from the WordPress database for display as a list, grid, or similar. We can display posts based on various arguments, such as their category (or taxonomy term), type, and date range. As is often the case, the list of posts may contain 50, 100, or 10000 posts. Because of this, we split the results into pages and show a certain number of posts per page.
You can create such lists of posts and design them with Builderius. We will focus on getting a list of desired posts and adding pagination to them and leave the design of the posts query for a future tutorial.
Let’s create the post query
1. Go to Builderius Documentation
2. Get the sample query from documentation
Click on Settings > Data Variables > Query to DB (GraphQL) > Examples > Posts and Pages
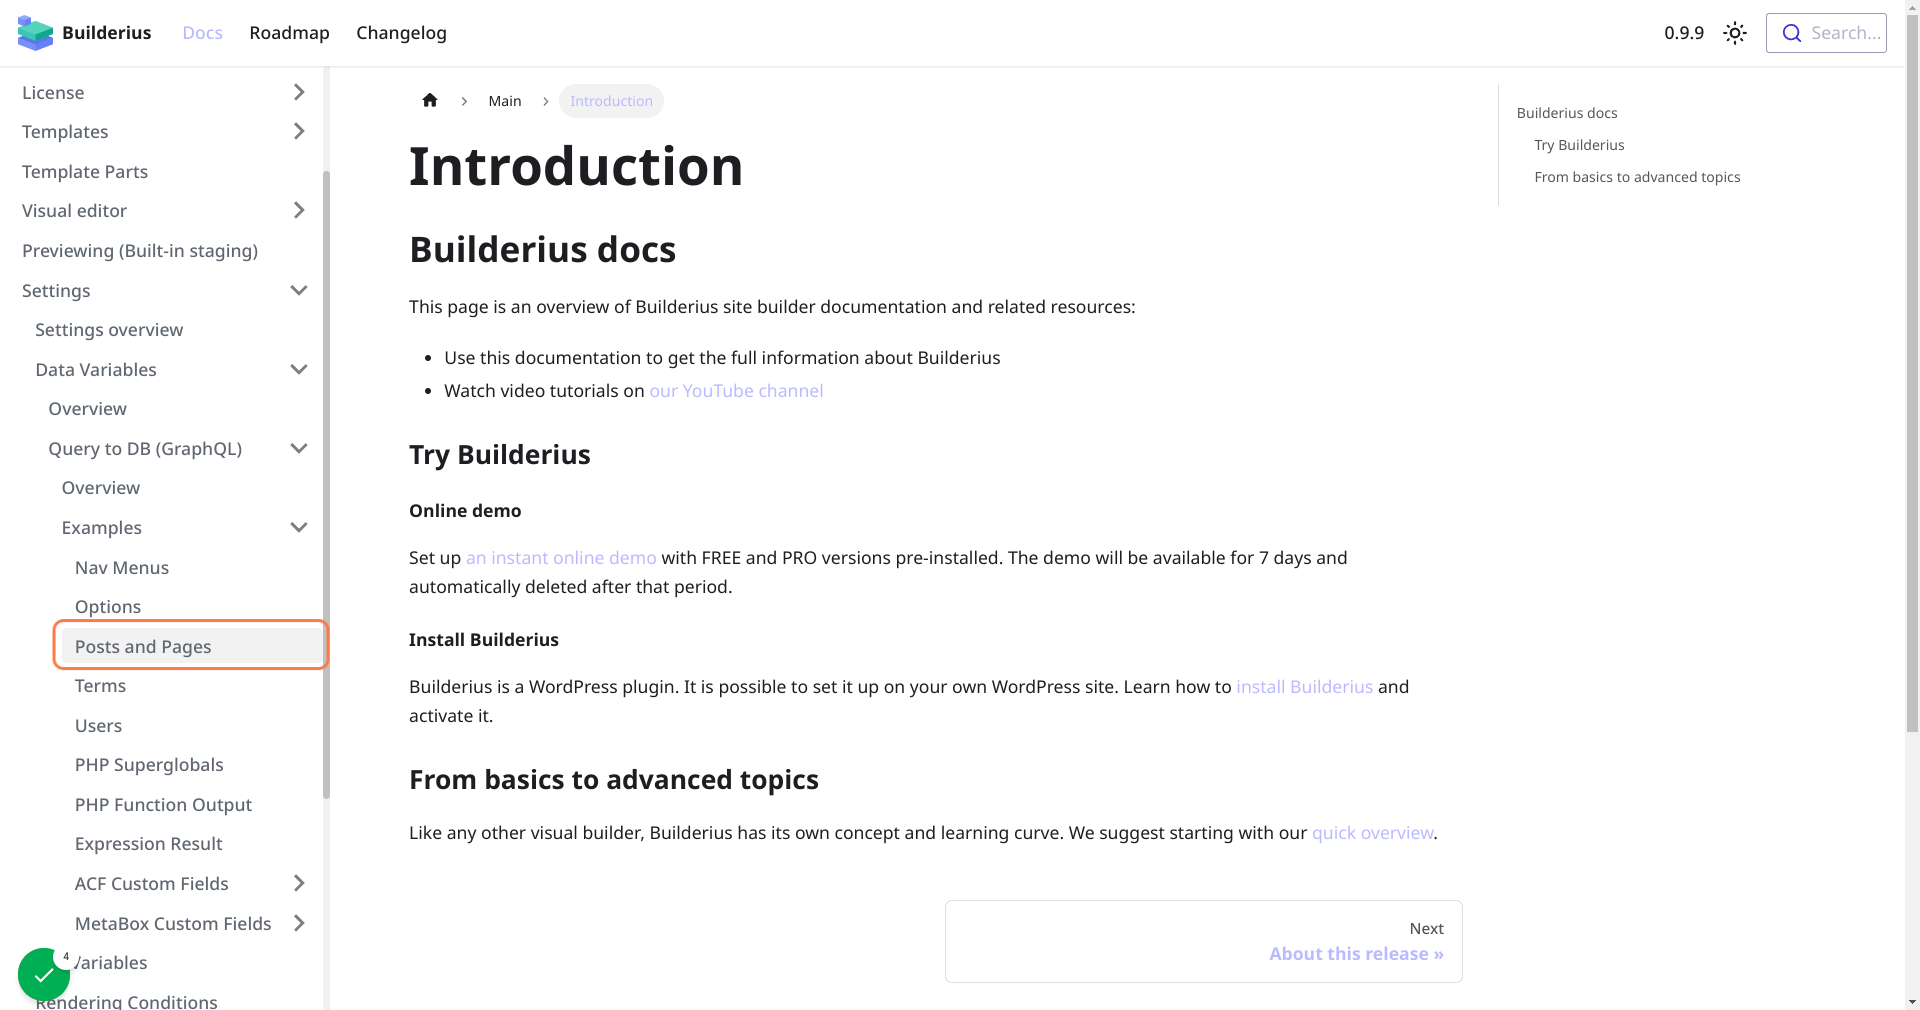
3. Scrol to the Section “How to get the pagination for custom query posts”
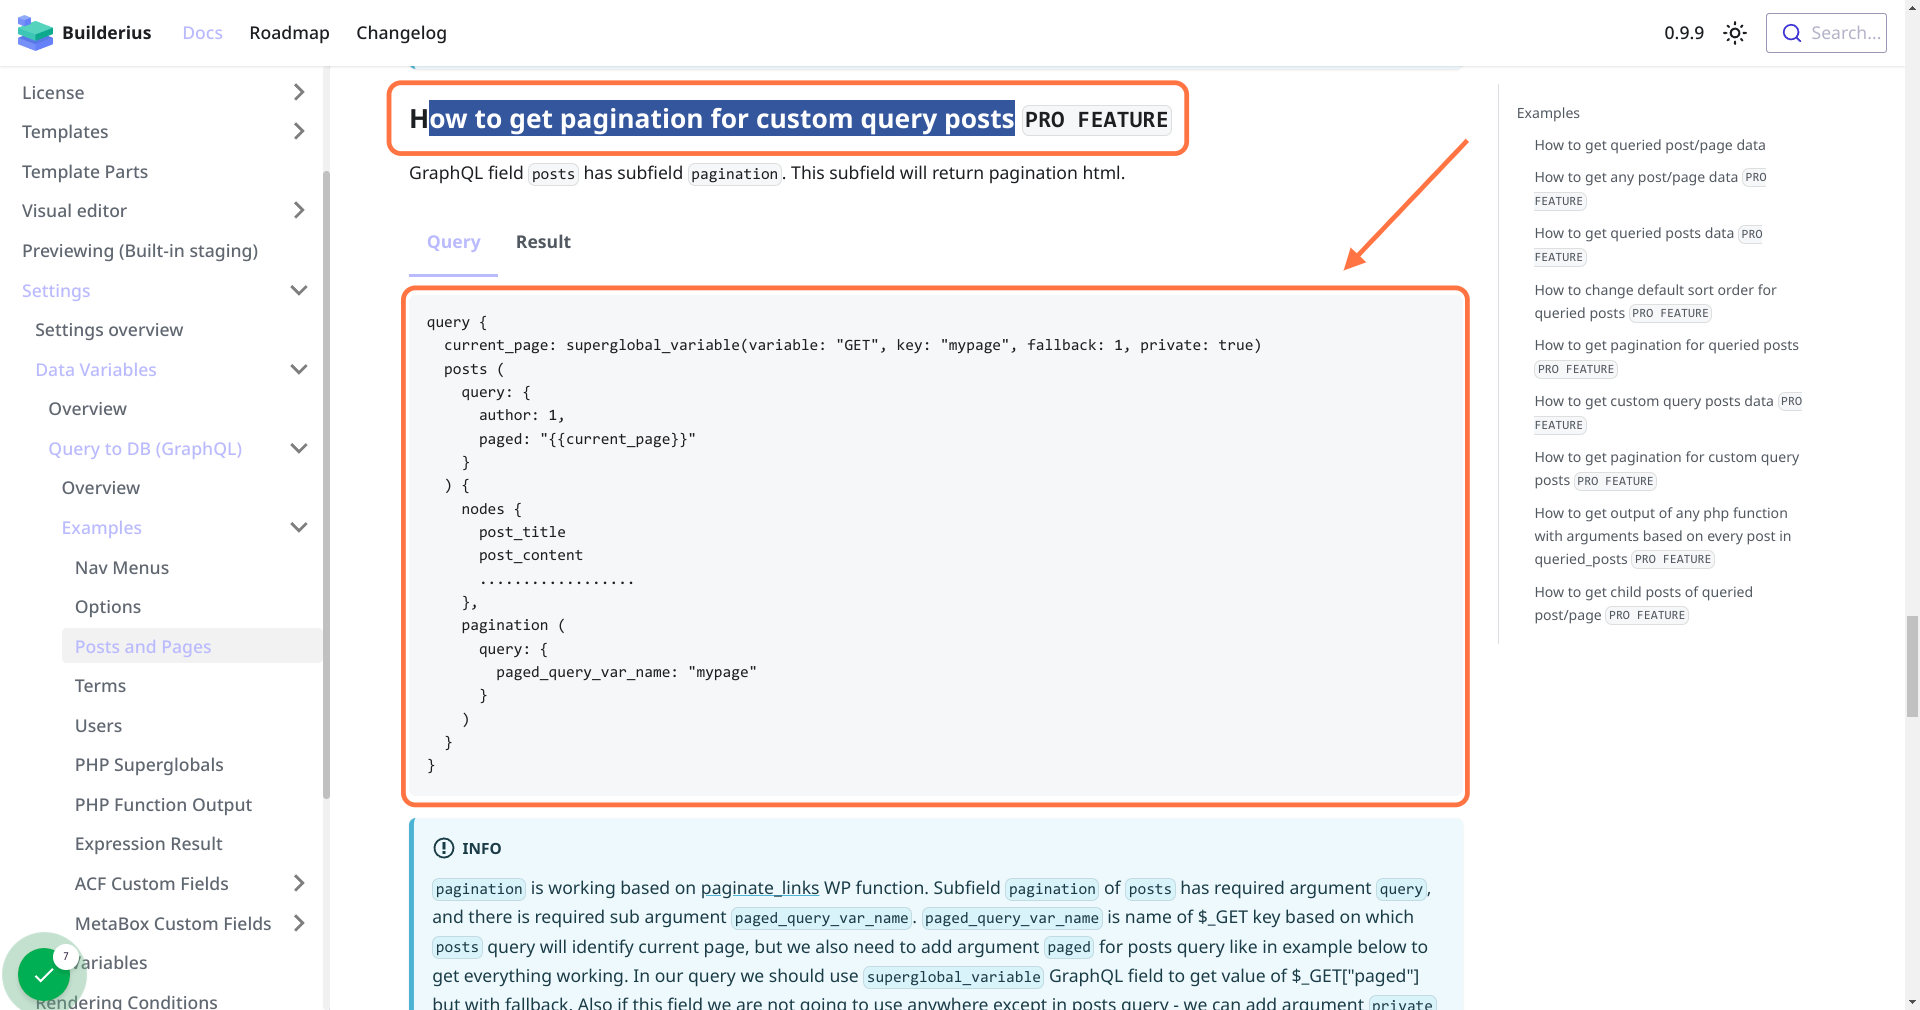
This is the code I have copied
query {
  current_page: superglobal_variable(variable: "GET", key: "mypage", fallback: 1, private: true)
  posts (
    query: {
      author: 1,
      paged: "{{current_page}}"
    }
  ) {
    nodes {
      post_title
      post_content
      ..................
    },
    pagination (
      query: {
        paged_query_var_name: "mypage"
      }
    )
  }
}
4. In Builderius, create data variable
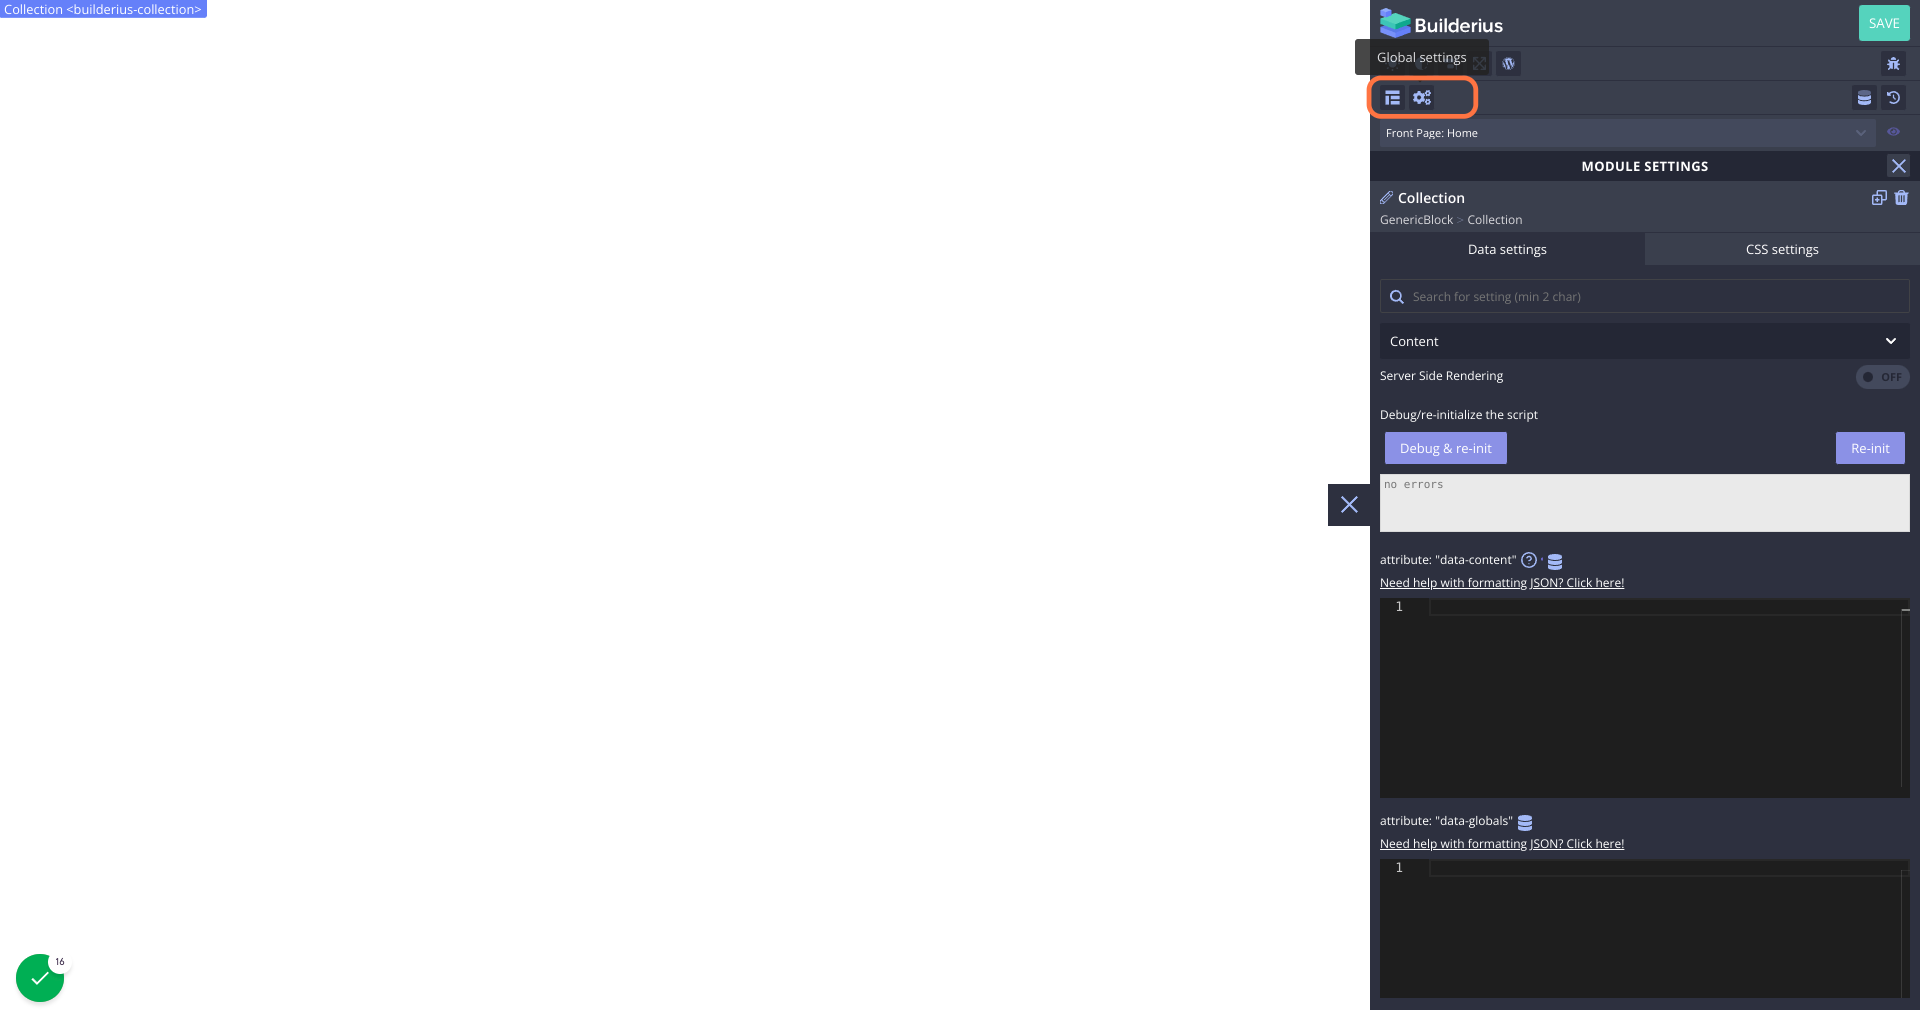
5. In Data Variables section, click on Edit or add Data Variables
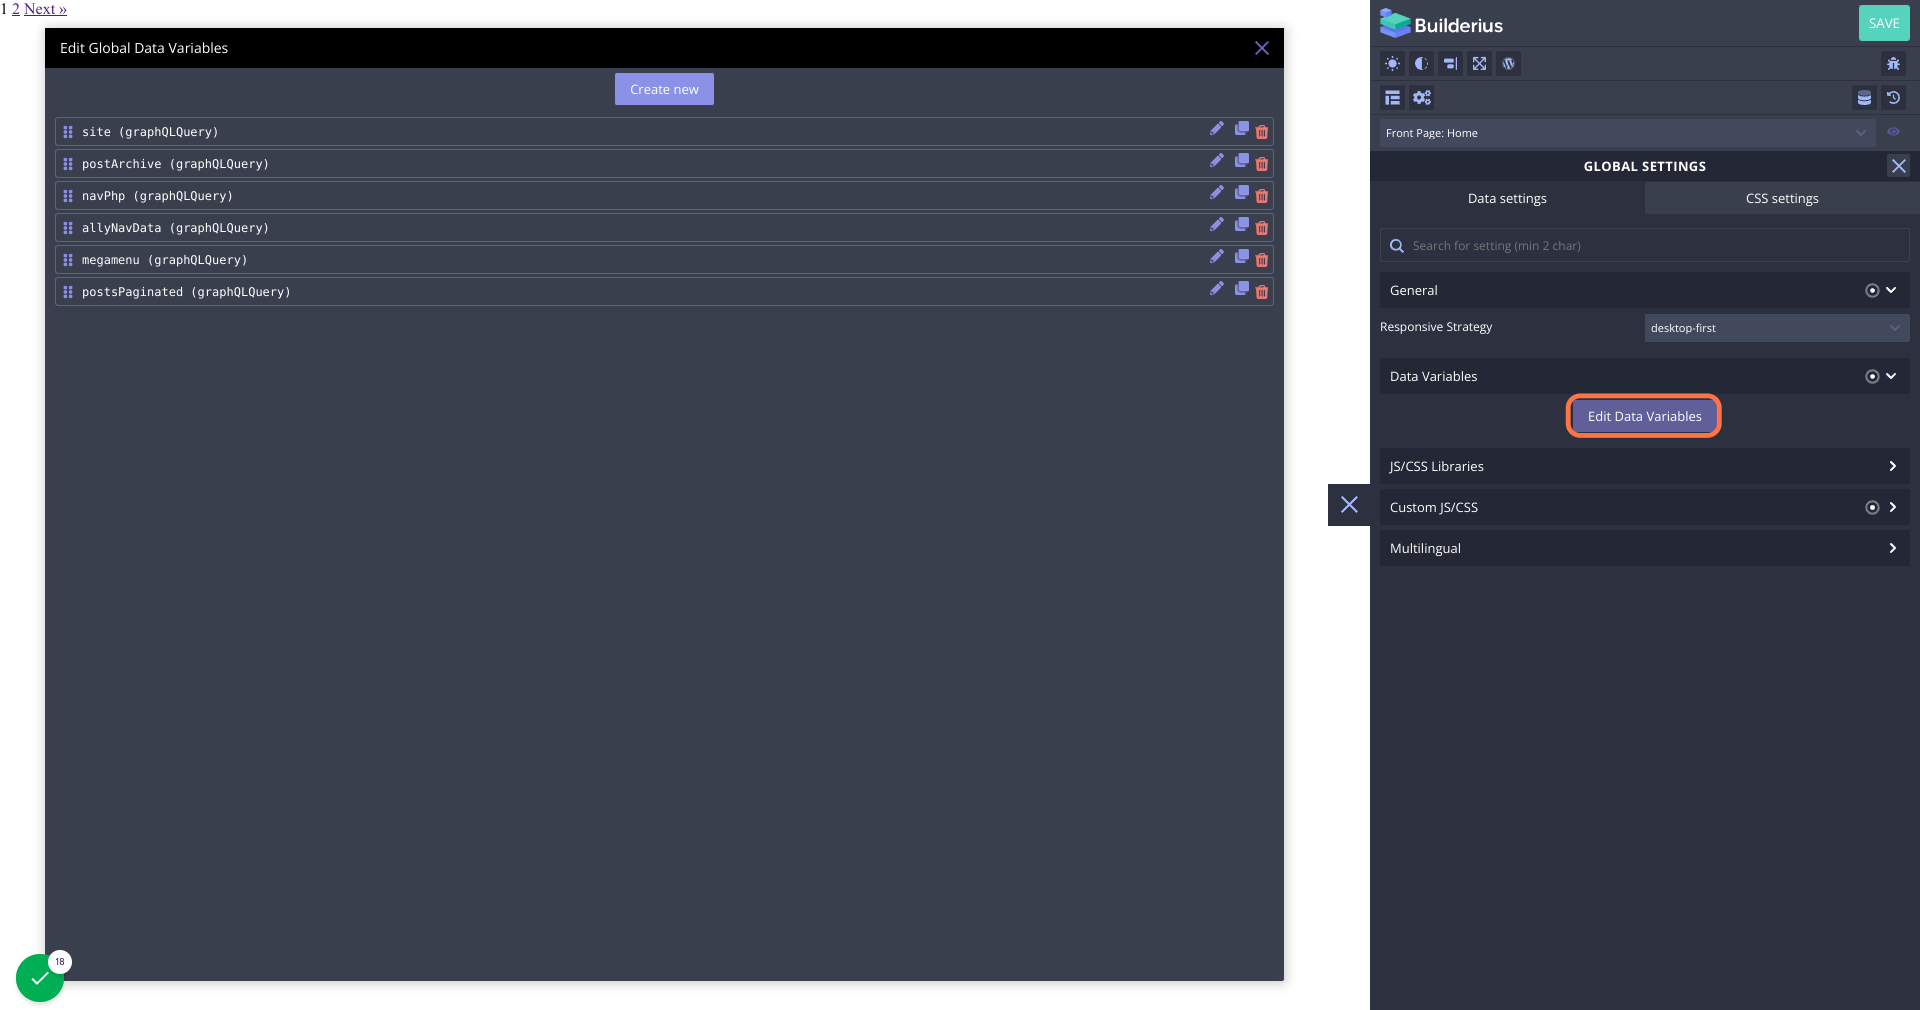
6. New GraphQL datavar
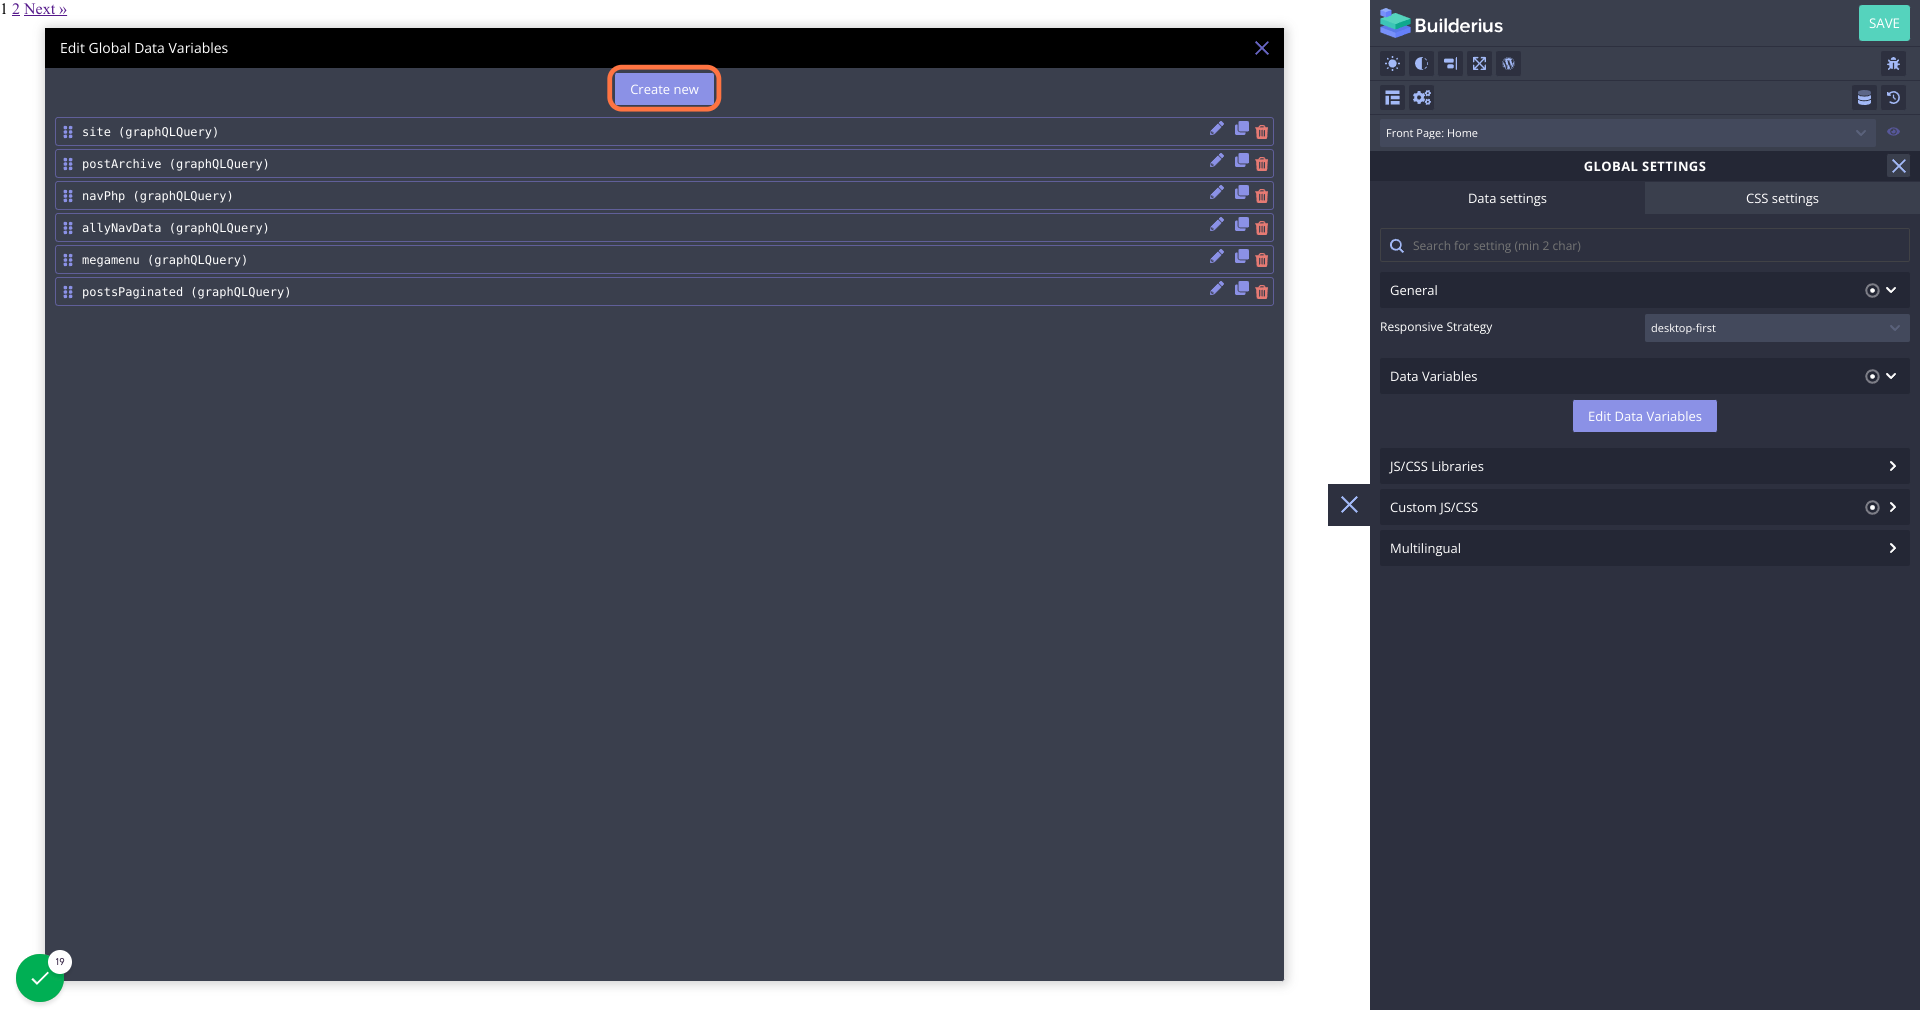
7. Paste the code snippet from Documentation
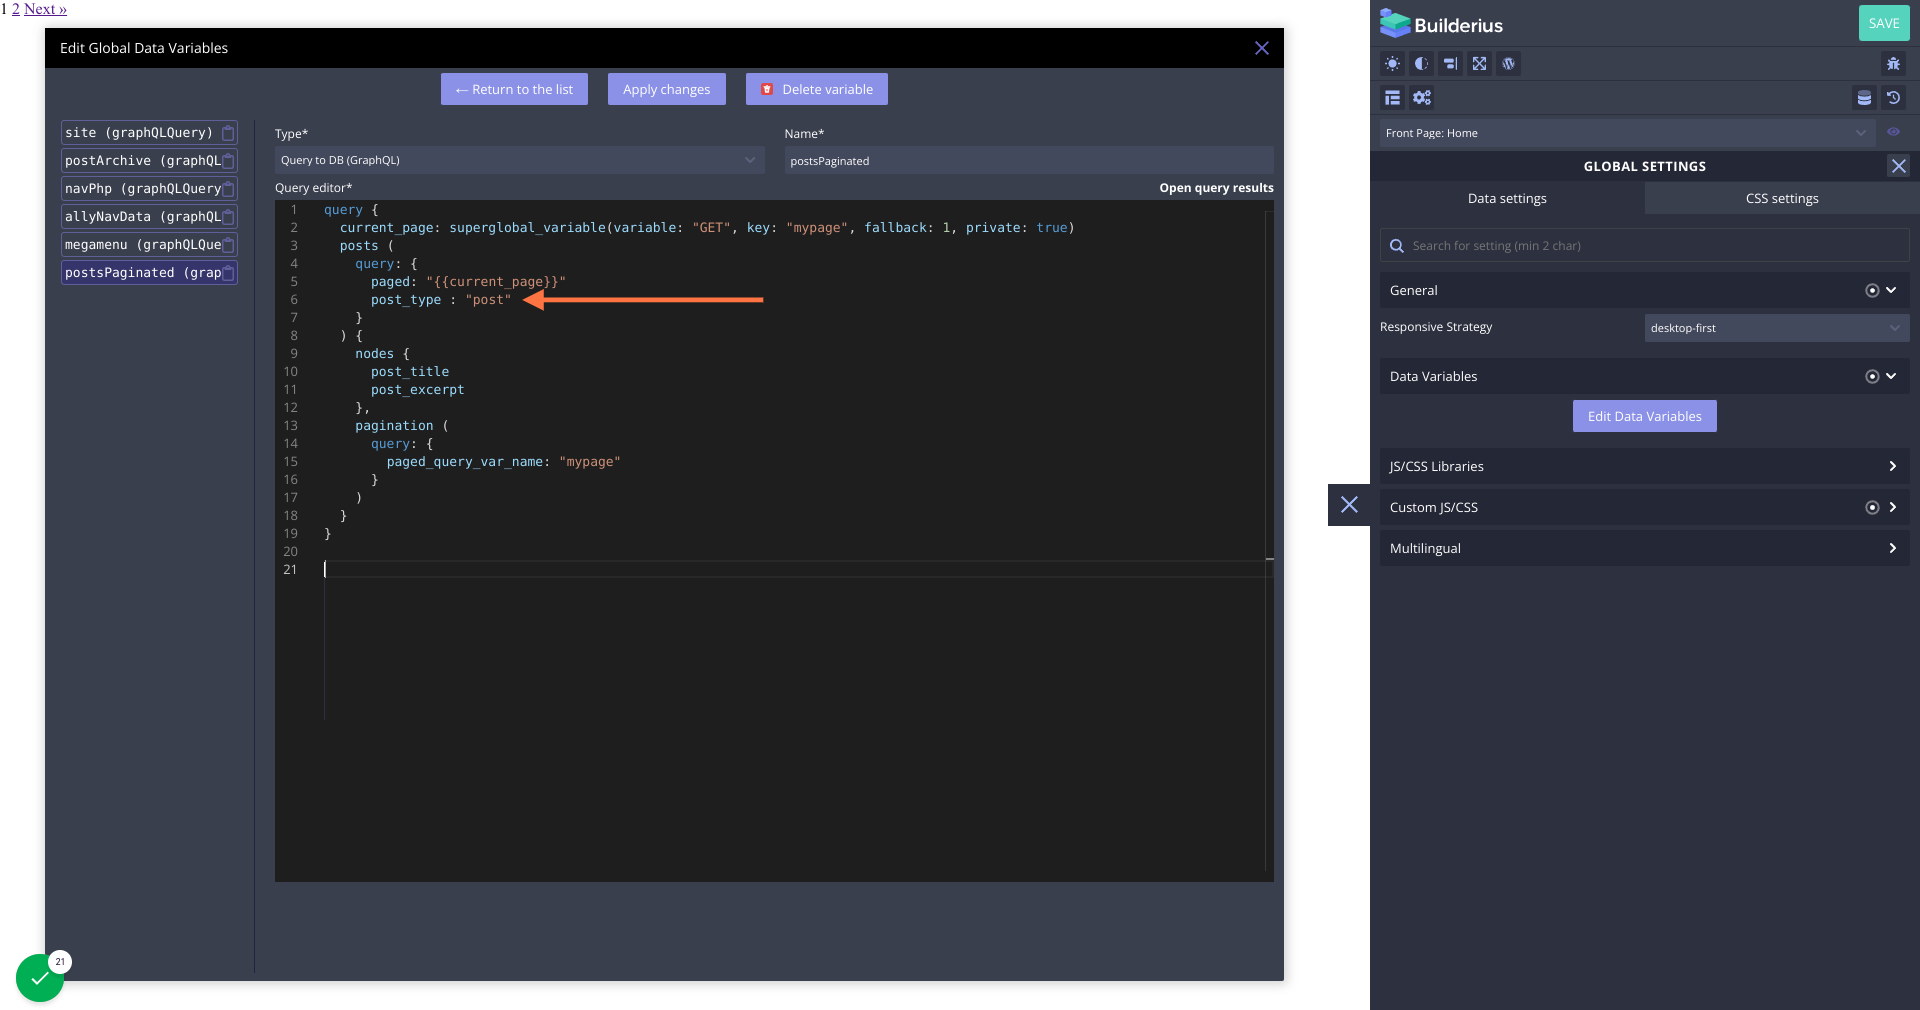
After you paste the same code, you need to edit it so it fits your needs. Editor has autocomplete and autosuggestions to help you on your way. For example I have edited the line 6 to define the post type as posts only.
8. Go back to modules to display this data
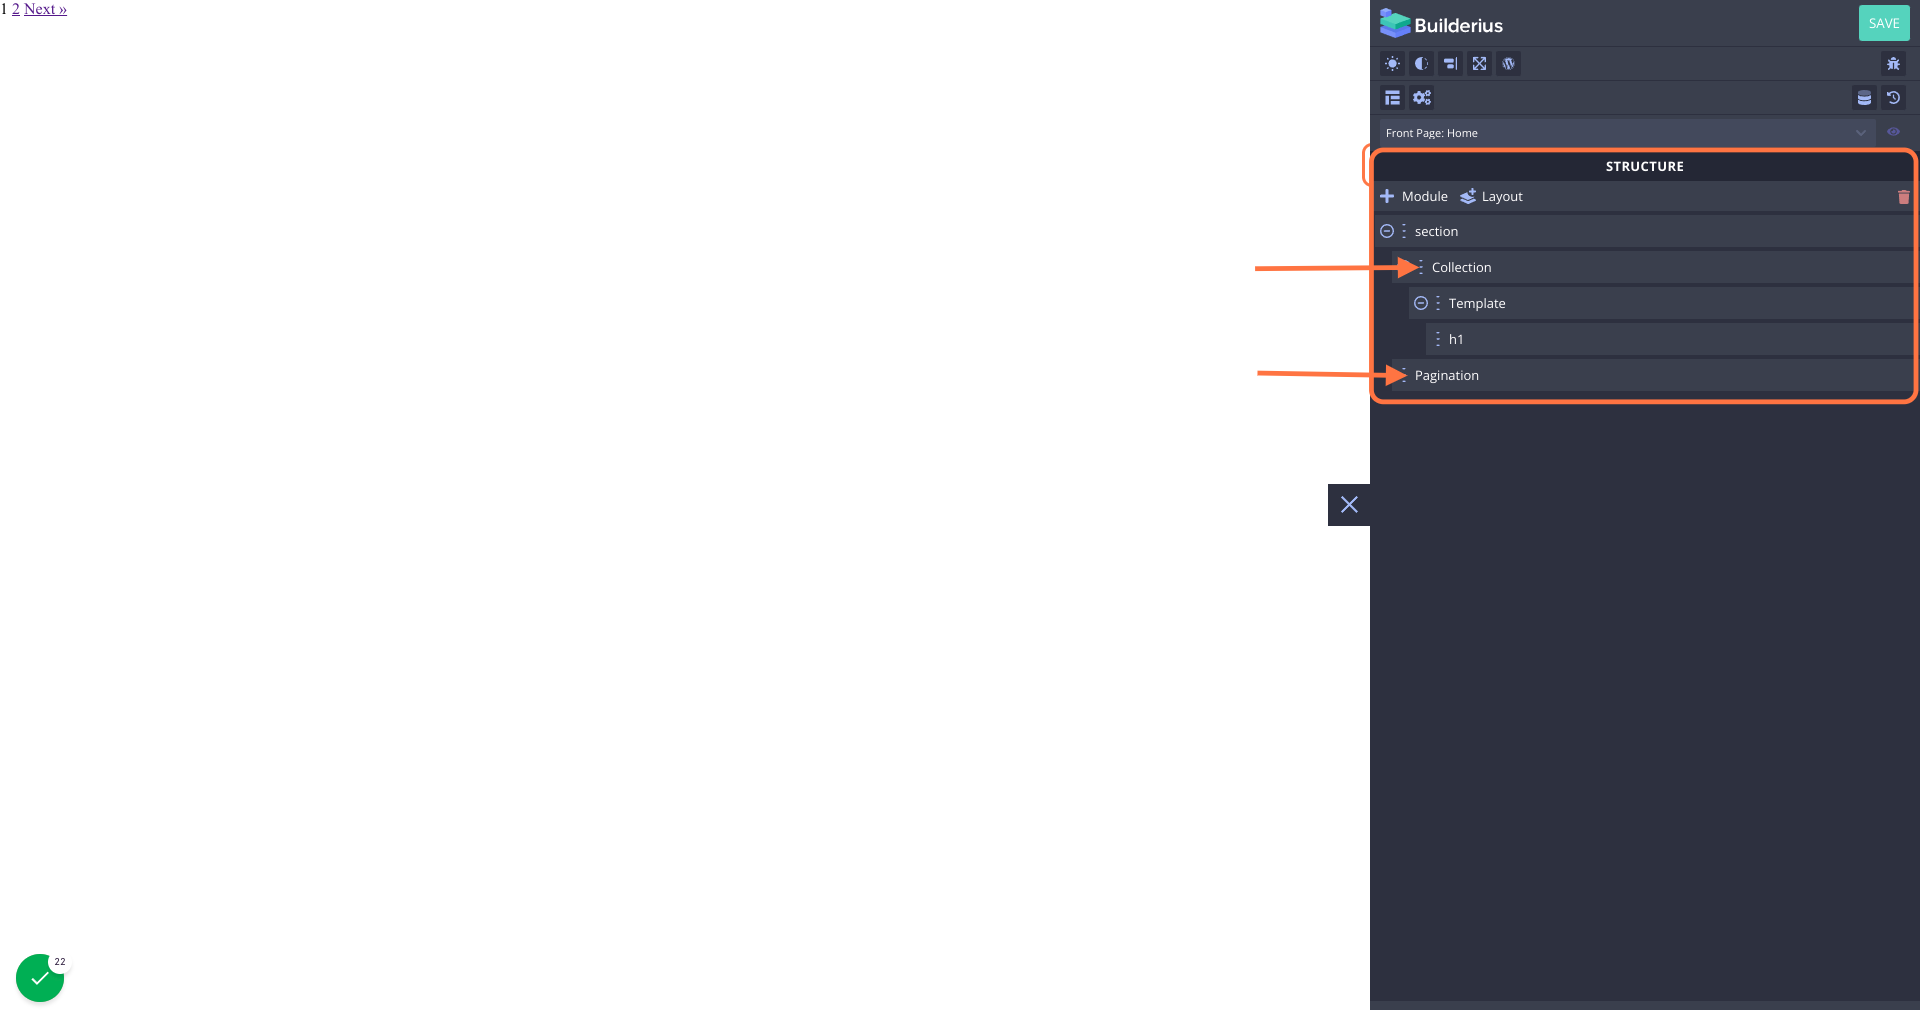
I have created my structure like this:
section > collection > template > heading (oversiplified structure but works)
To display the title of each post “dynamically” write this “shortcode”
{{{post_title}}}Now we also need to add pagination:
I have added a RawHTML module and renamed it to “Pagination” for clarity when I view the structure panel. Pagination module has to be directly inside the section but after the Collection, if it was inside the collection it would repeat after each post title.
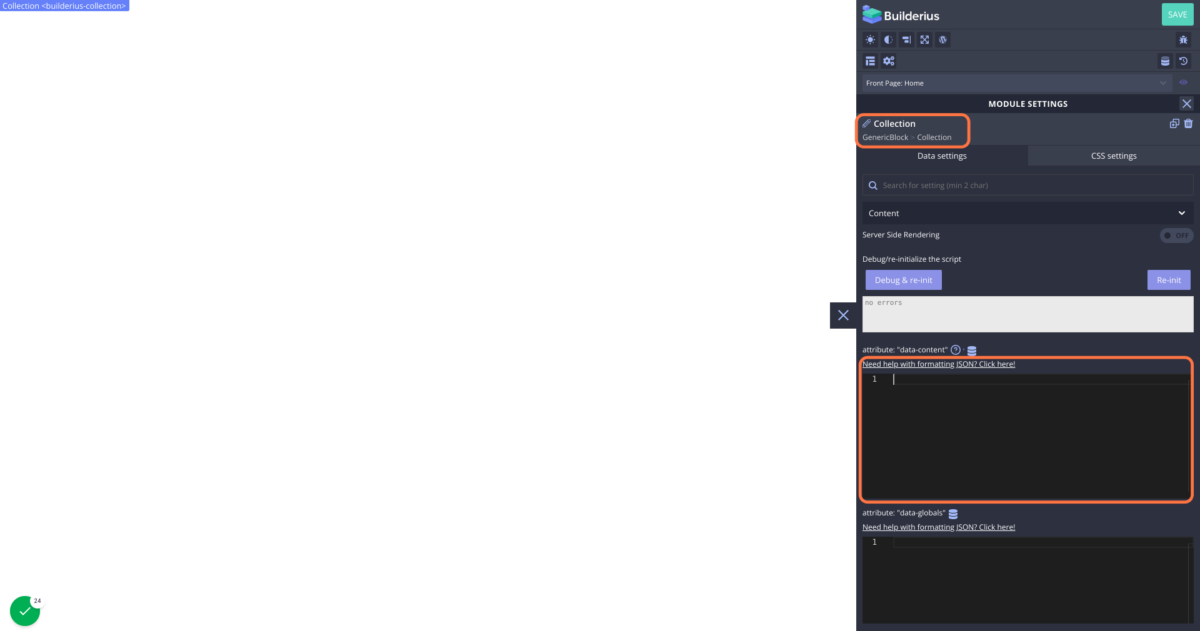
9. Click on Collection module, then add data from query
10. Click on the DB icon in “data-content” section
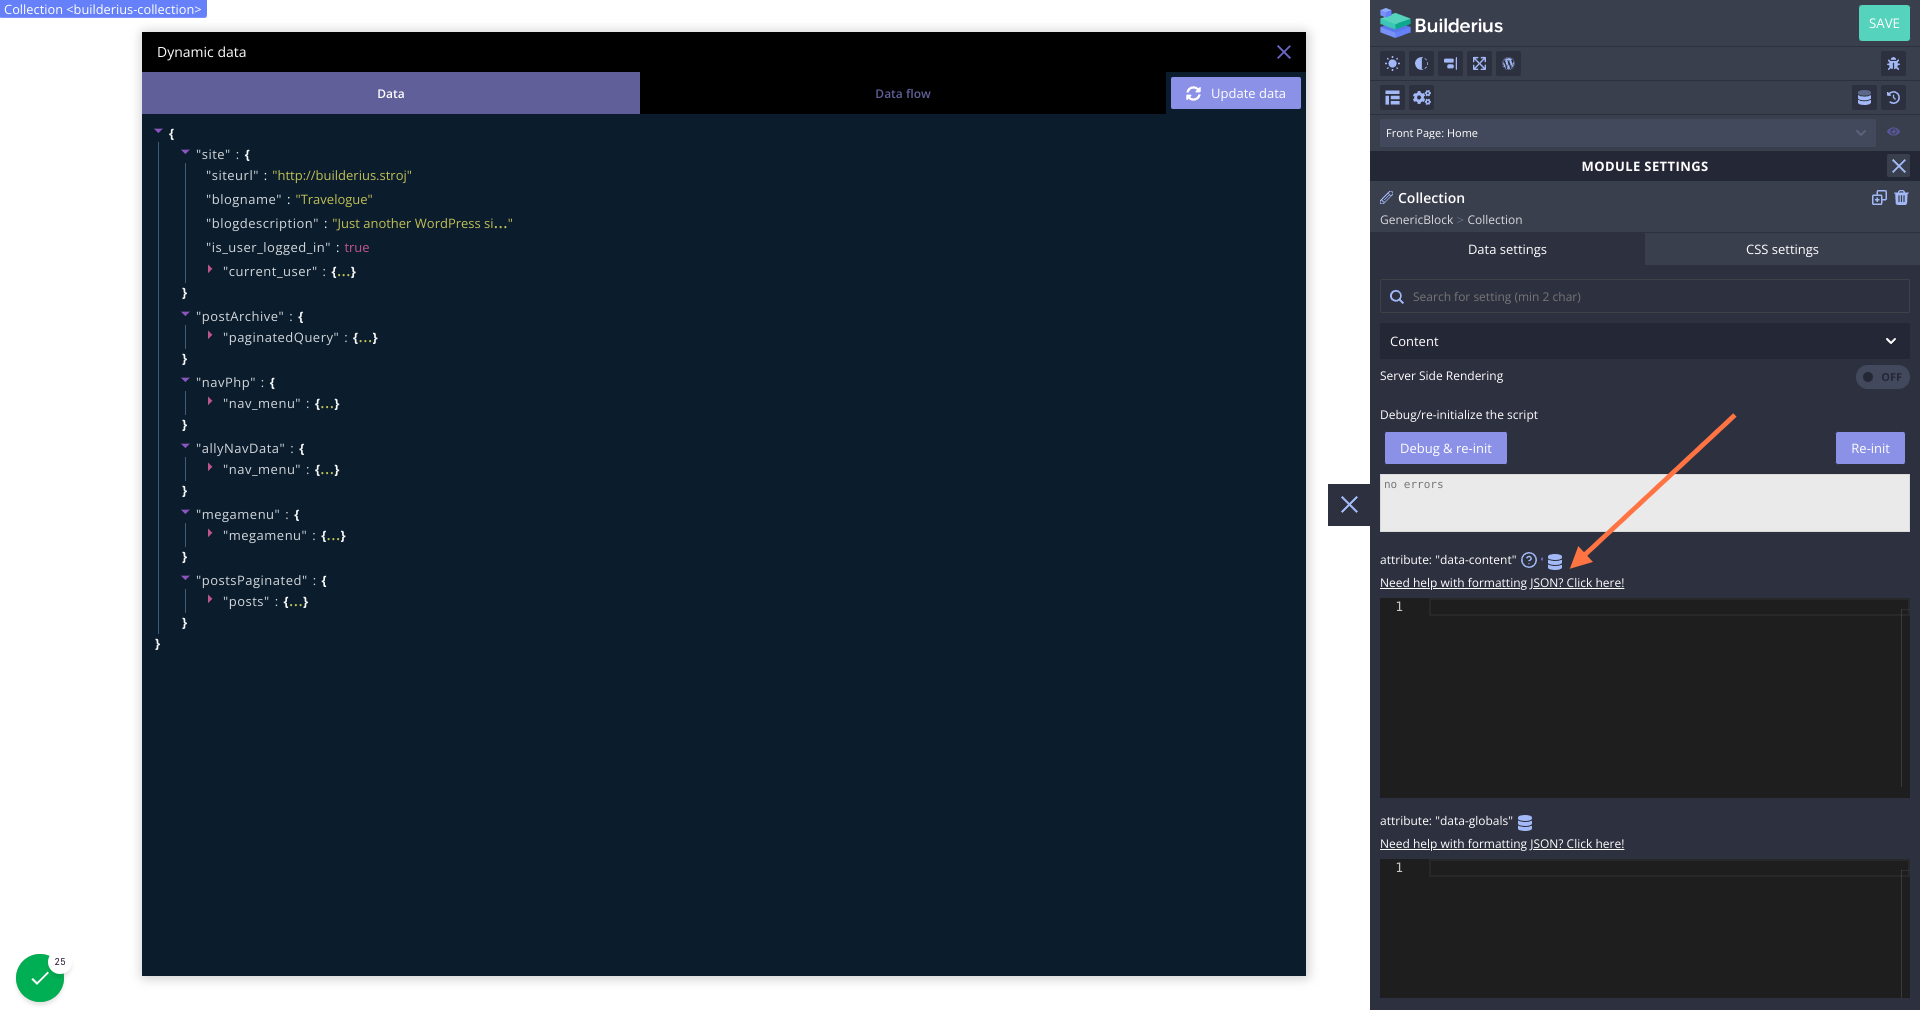
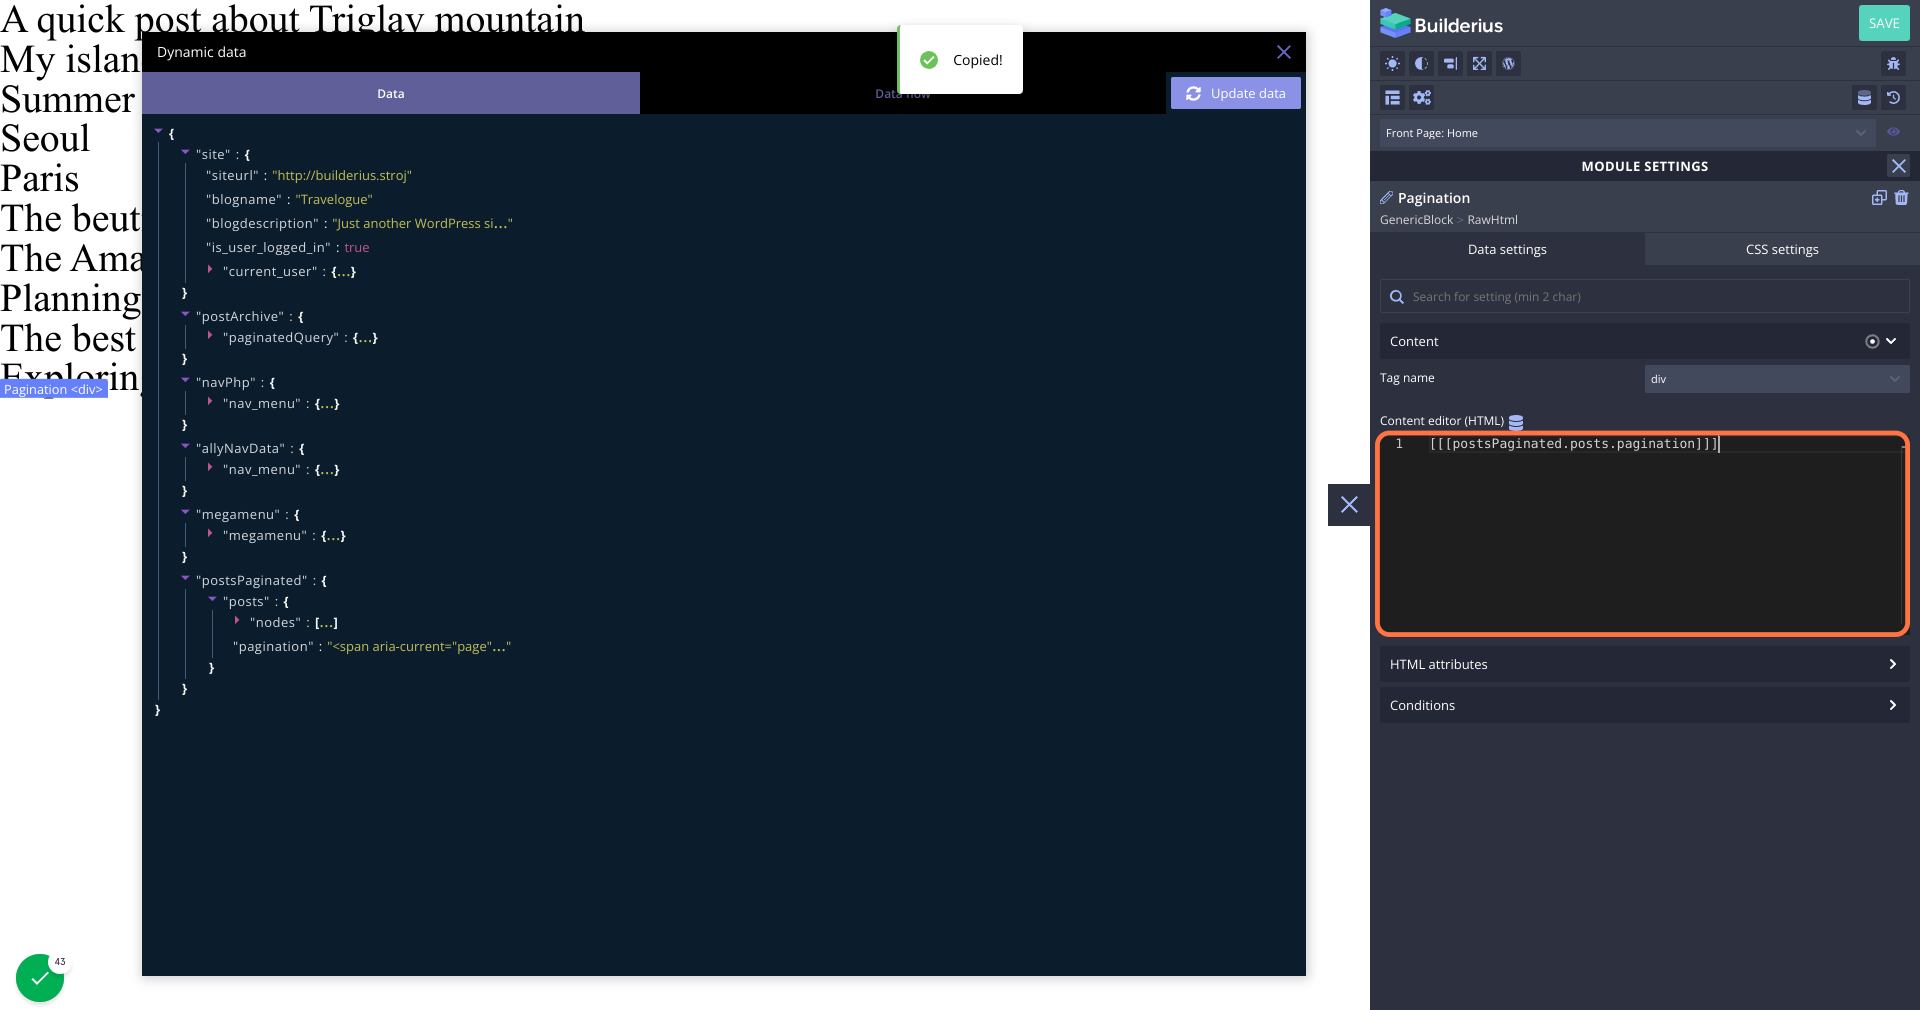
11. Select your datavar, then click on “nodes” item and copy data
In this tutorial the datavar we created is called “postsPaginated” so we select that.
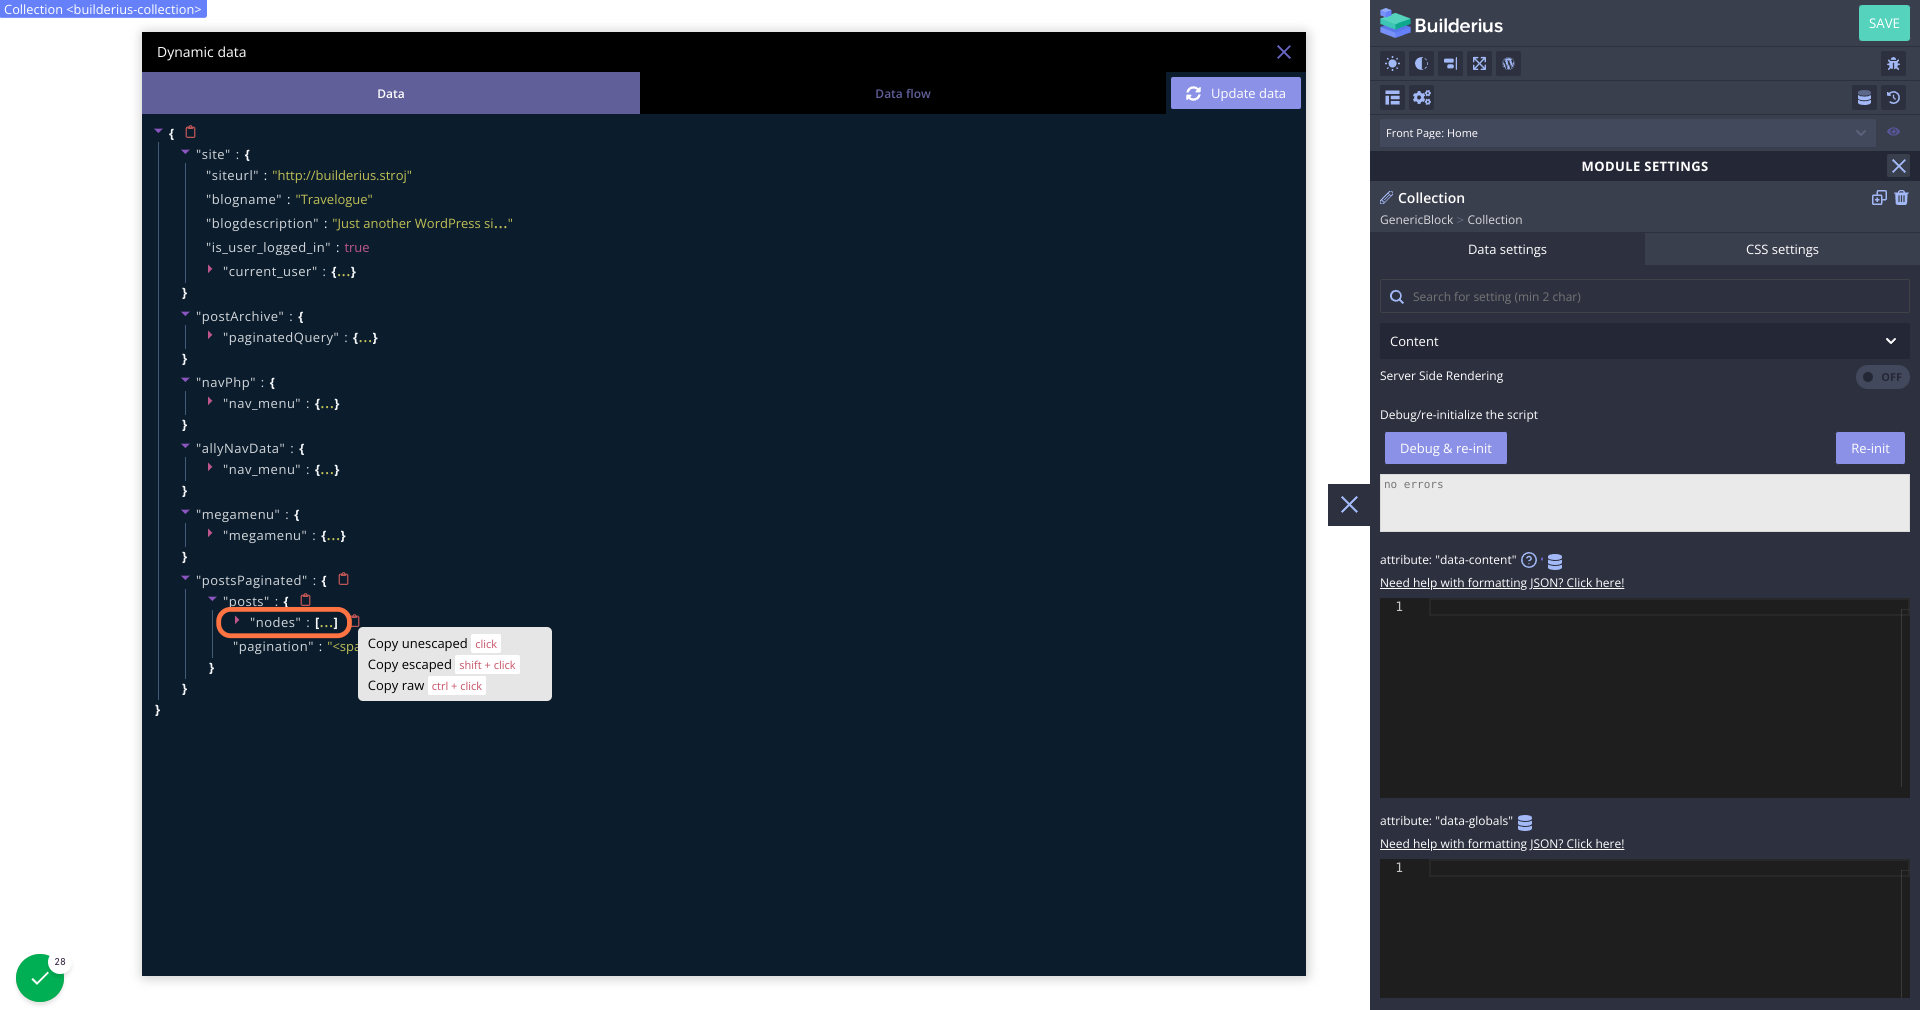
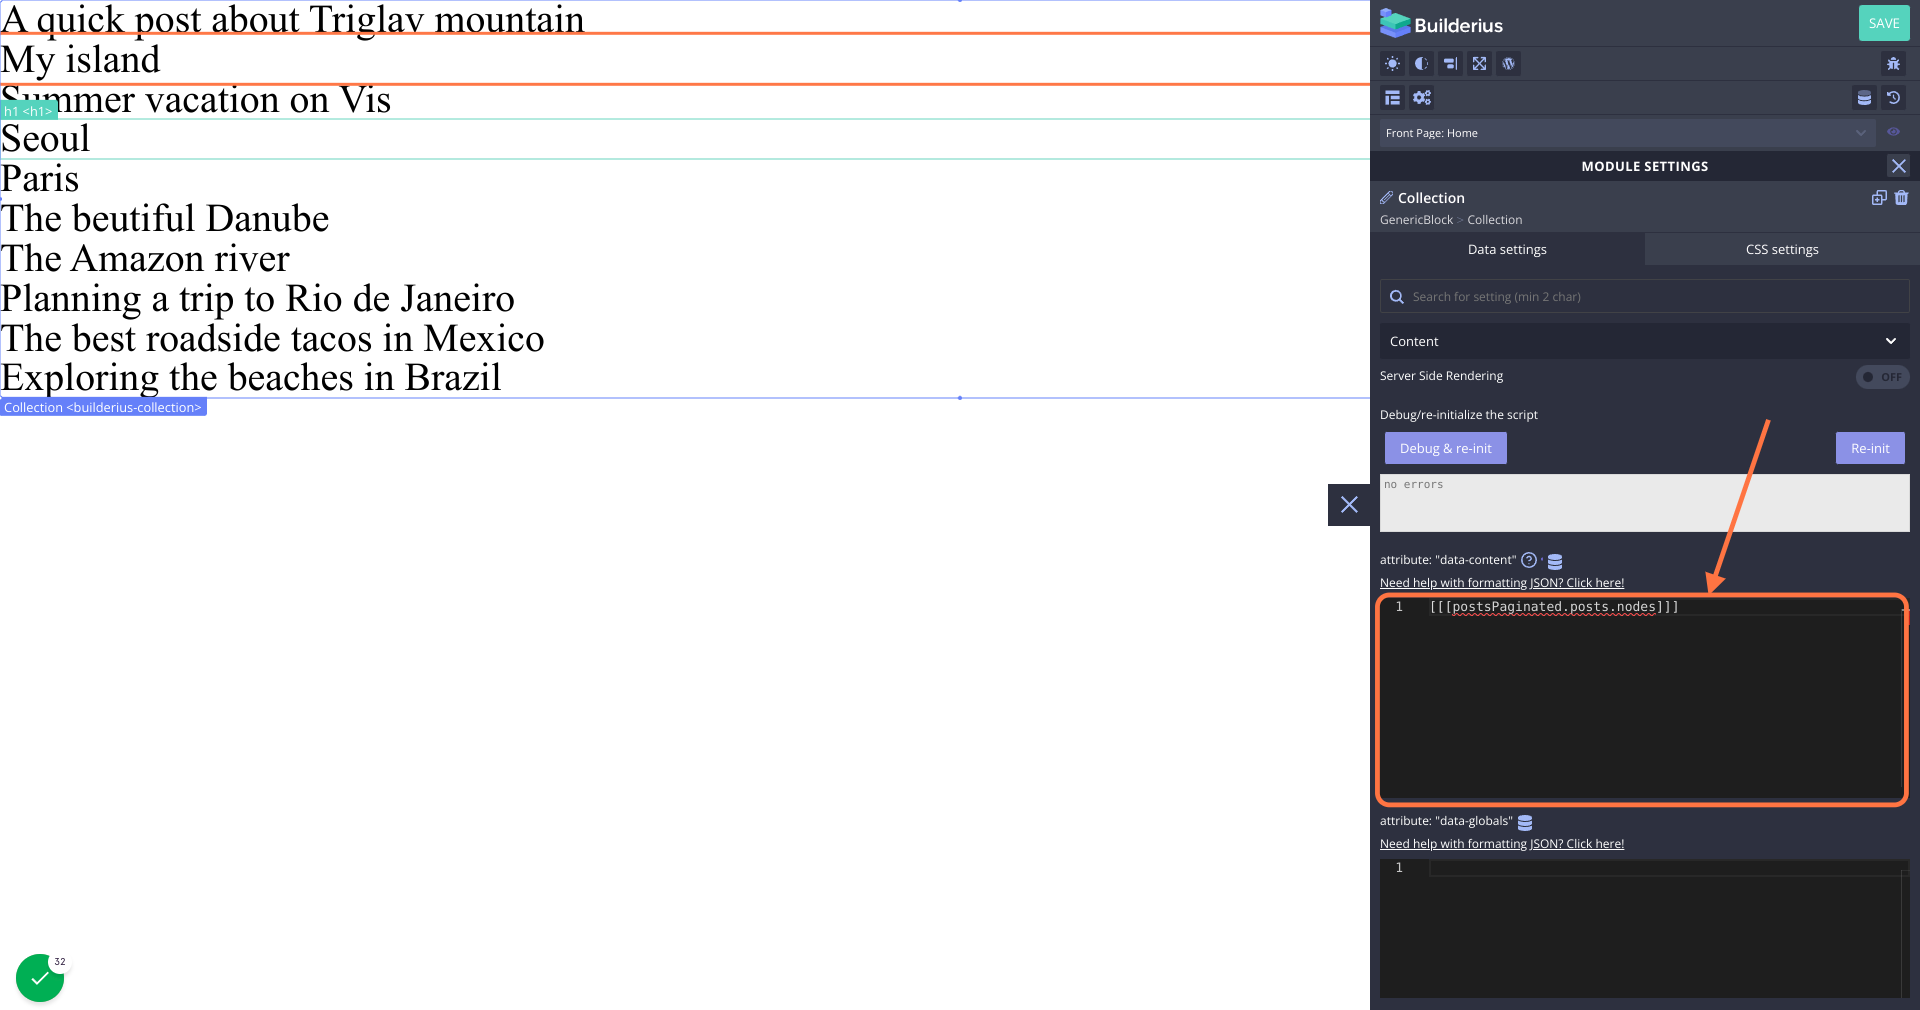
12. Paste content from clipboard into text area of the Collection module
Post titles should now appear
13. Now lets add pagination the same way.
Select the RawHTML module in the structure panel, and click on the DB icon.
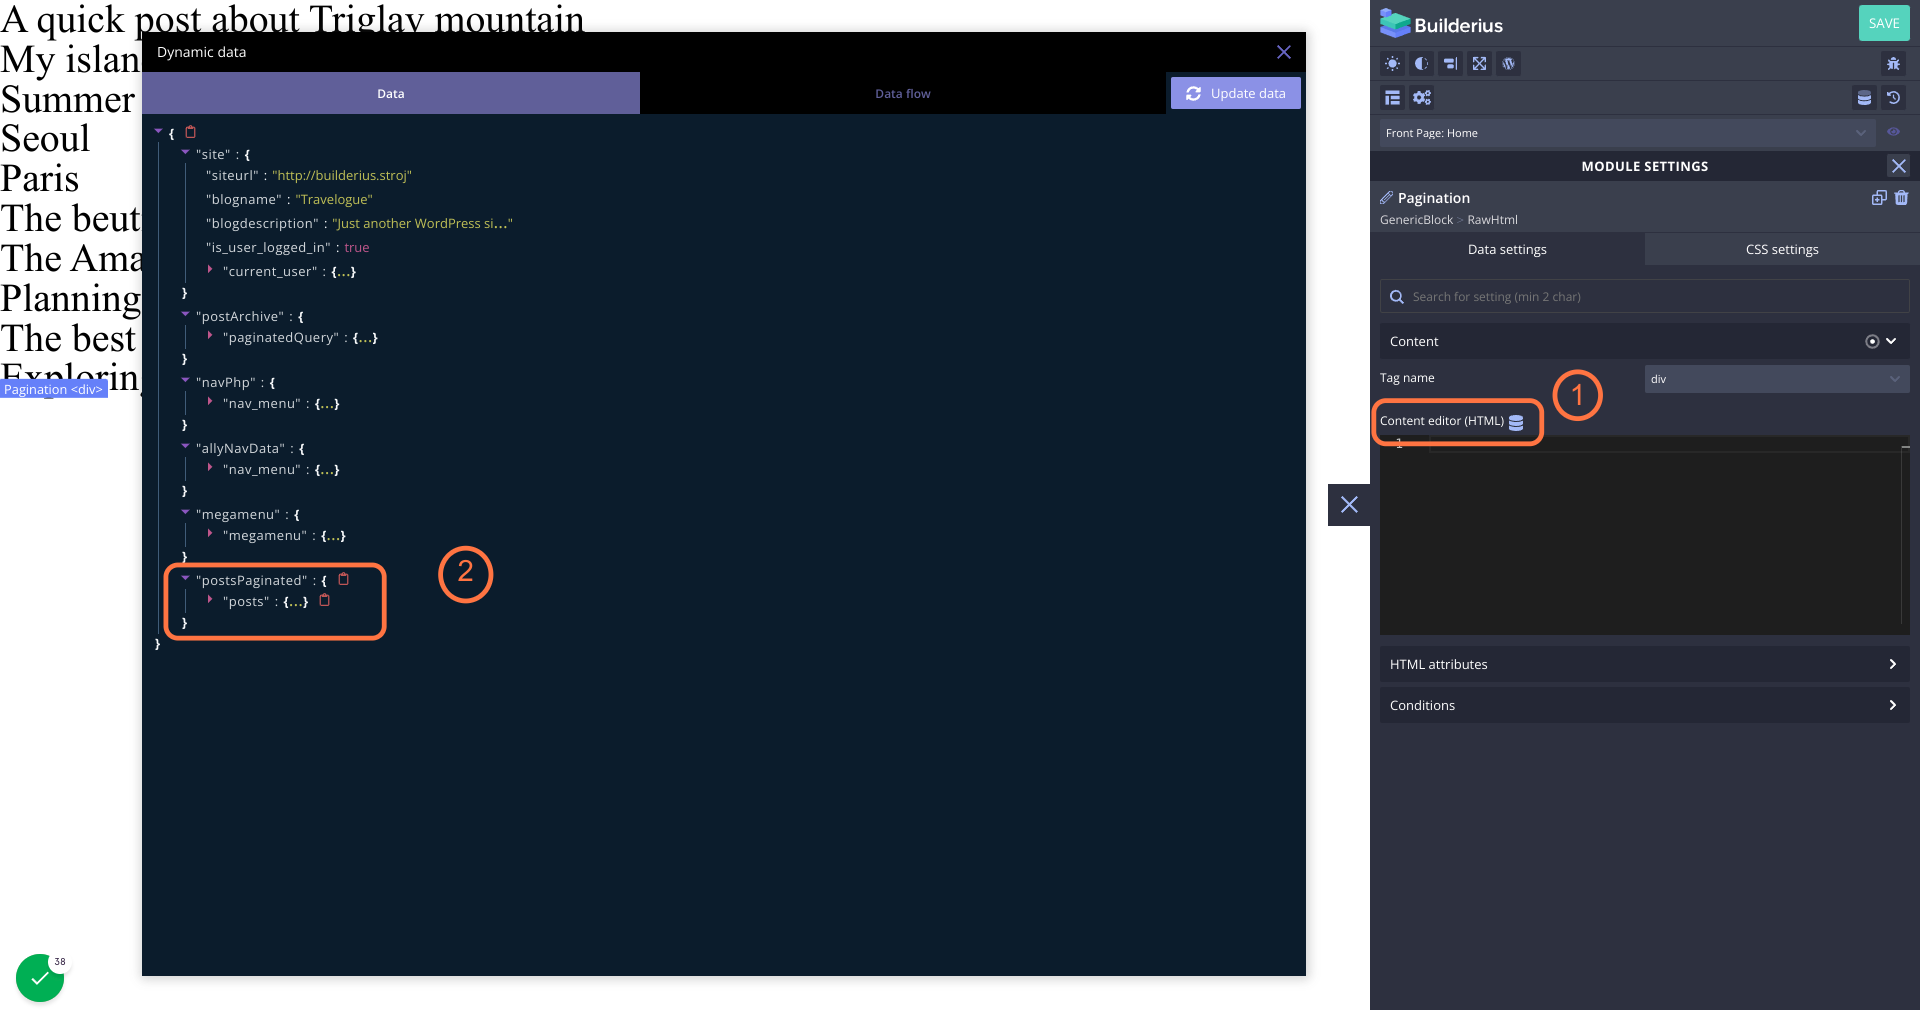
14. Copy the pagination data to your clipboard
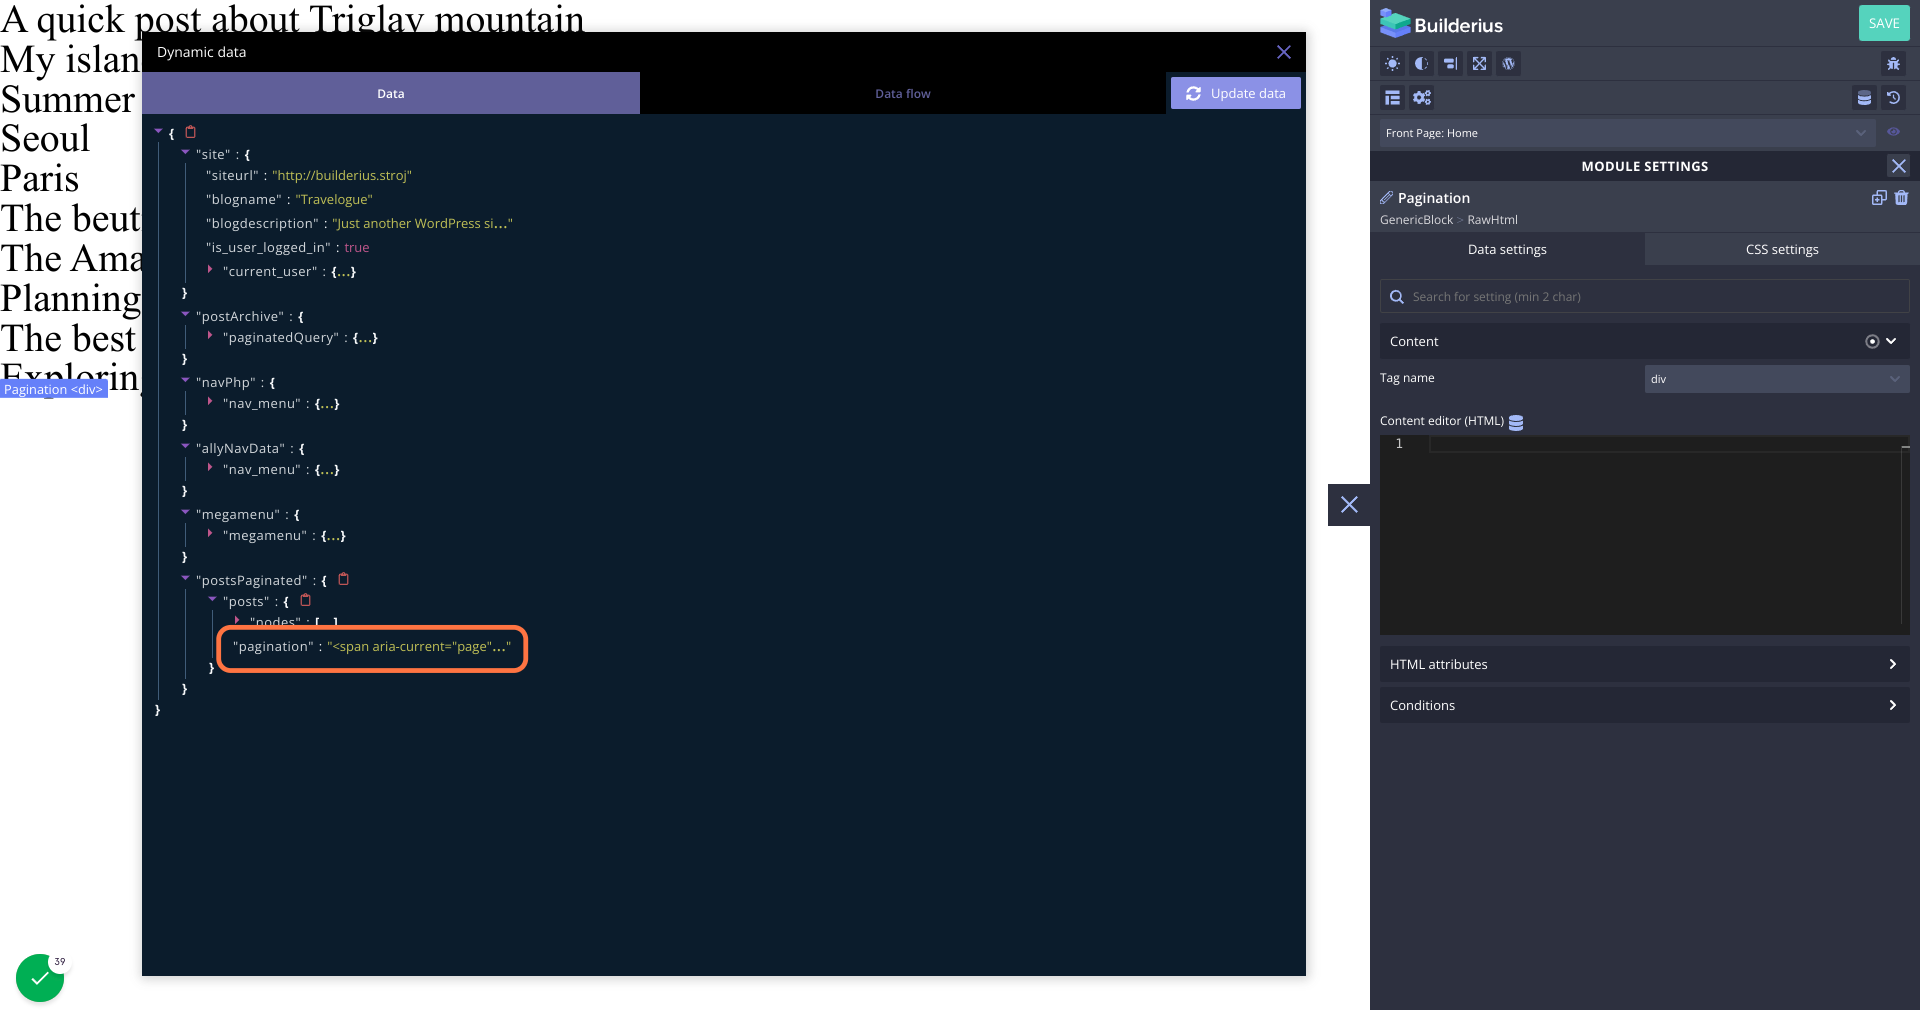
15. Paste clipboard content into RawHTML content area
16. DONE!
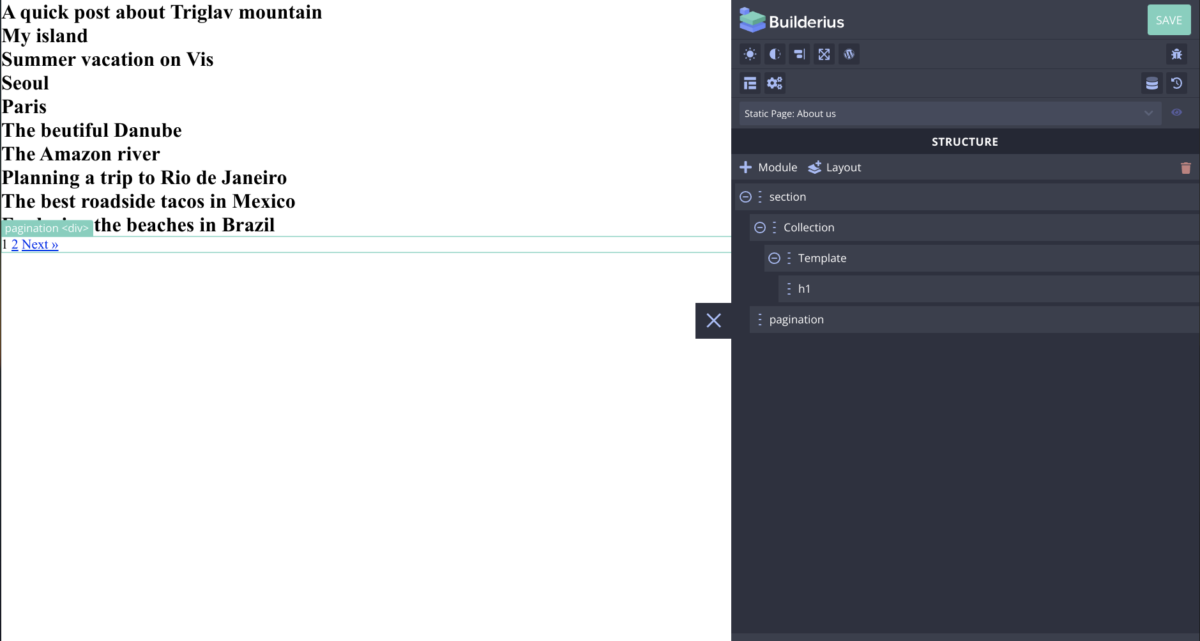
Congratulations, you have created your post loop. Next step, let’s design it to look like we want.
