How to Install Google Analytics with Google Tag Manager in GDPR Complaint Way (part 1)
Article
Important disclaimer: one may argue that installing GA in GDPR compliant way is not possible at all. It is probably true for GA version 3. I am not sure about GA4, since this version works differently. Anyway, it is not the goal of this article to argue this question. The goal of this article is to show how to load GA code CONDITIONALLY via Google Tag Manager and only after specific event triggered by user. This event would be consent from user.
Google Tag Manager is a free tool that allows you to easily add and update your Google Analytics code (as well as other custom tracking codes/tags) on your site without having to manually write a single line of code.
This article describes Google Tag Manager setup with Google Analytics.
What is Google Tag Manager and do we need it?
While it is not required to use GTM at all, we would recommend using it as it is a very handy tool. With Google Tag Manager we can deploy different types of tracking codes, such as the Google Analytics tracking code, as well as custom HTML/JS code from other providers. This can be done without needing to edit the website’s code.
Google Tag Manager supports versioning, so the last changes can be reverted any time. Publishing the new version inside GTM instantly impacts the site, no need to wait for some propagation time.
Another advantage of using GTM is a possibility to use different triggers which add the code to the site. Technically, GTM works this way: when a certain event happens (based on the trigger chosen), then GTM JS code loads all tags dynamically and adds them to the page. The most used trigger is ‘page view’ and its event happens every time users open the page. However, in this tutorial we will be using our custom trigger in order to make it GDPR complaint eventually.
Step by step adding Google Analytics with Google Tag Manager
- Log in to google tag manager web site https://tagmanager.google.com/ and create a new account.

After filling in the registration form and clicking on “Submit” button, the GTM code will be shown.
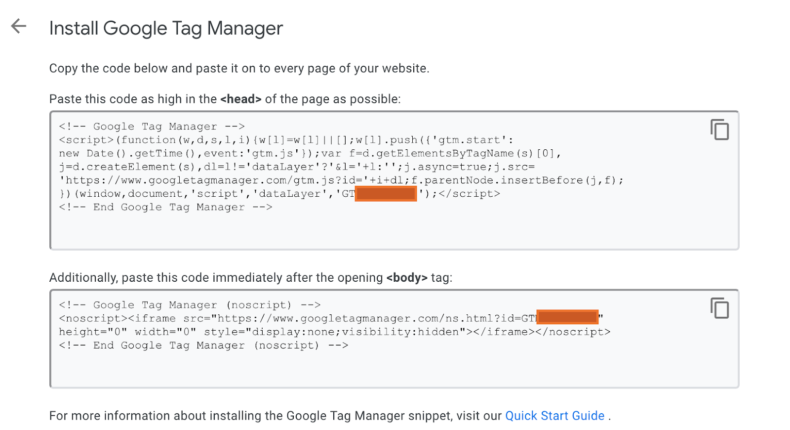
2. Install GTM code on your site. We have several options here. The basic one is to edit the theme files via code editor and upload it to the hosting or to edit them directly in WordPress dashboard. An appropriate menu item is located in Appearance admin menu item. The alternative is to use one of “code snippets” plugins https://wordpress.org/plugins/search/snippets/
3. Configure GTM. We are going to set up a custom trigger, create a variable and setup a trigger.
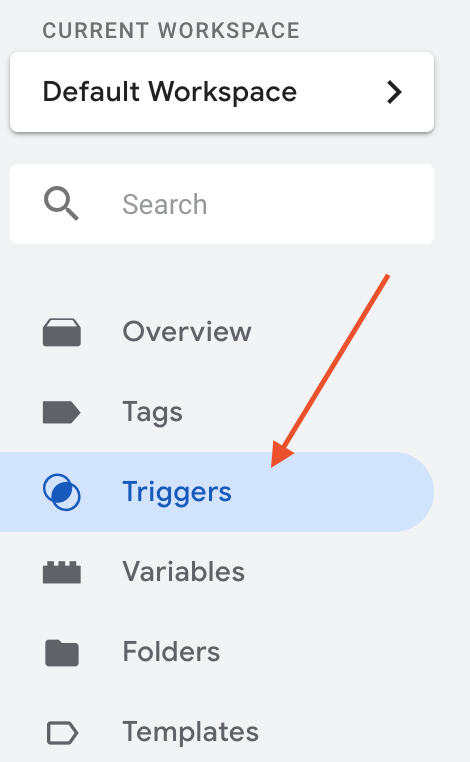
3.1. Click on “Triggers” menu item
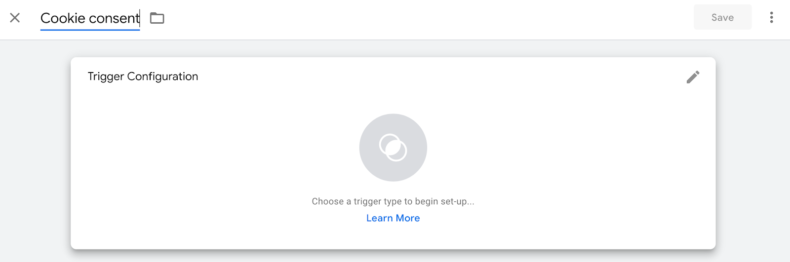
3.2. Click on “New” button on the right panel, so the new Trigger modal window will appear. Choose its title and click on “Trigger configuration”
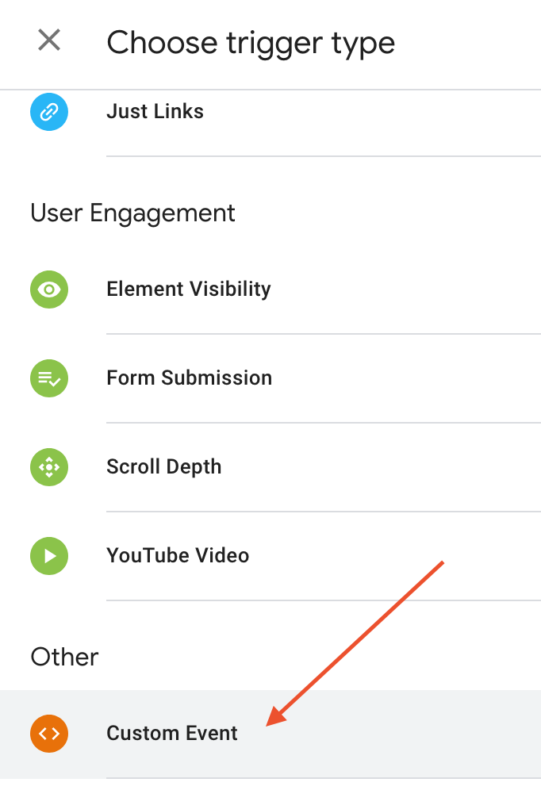
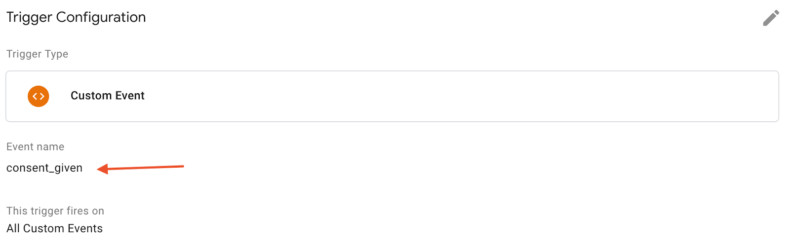
3.3. Click on “Edit” (pencil) icon (it is shown on hover over the whole section) to choose a type, then select “Custom Event” from the list of trigger types
3.4. Important: give exactly this name of the custom event: ‘consent_given’. Trigger event should be equal to “All custom events”.
4. Now we are going to add variables in order to store our UA tracking code ID. “UA” stands for Universal Analytics and represents version 3 of Google Analytics tracking code. Googls has started a deprecation process of the version 3 of GA. The new version 4 ID starts with a letter “G” and to add such tracking code we do not need creating a variable at all. Those who use version GA version 4 may skip this section and go directly to creating a tag (5).
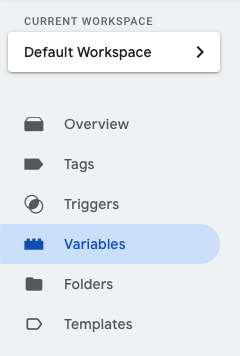
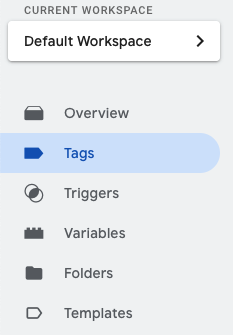
4.1. Click on Variables menu item
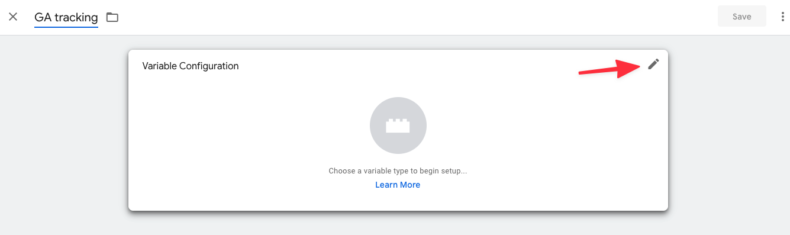
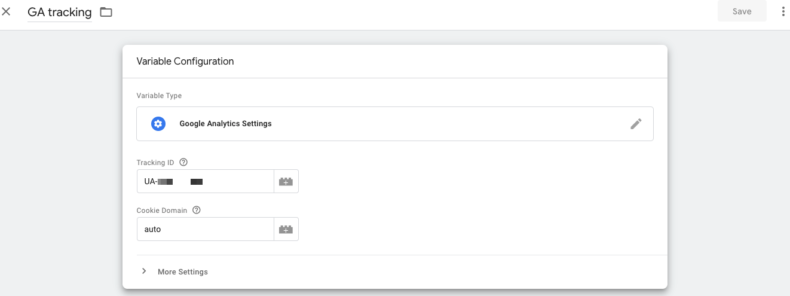
4.2. Let’s add GA tracking code ID. Click on “New”, then define the name for the variable and click on “Edit” icon in the new window:
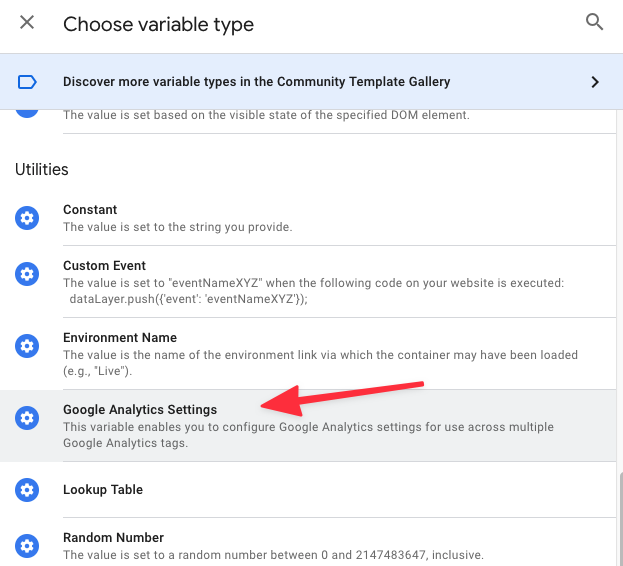
4.3. Select “Google Analytics Settings” type:
4.4. Define your GA code ID in “Tracking ID” setting and save:
How to find the Google Analytics ID
- Sign in to your Analytics account.
- Click Admin.
- Select an account from the menu in the ACCOUNT column.
- Select a property from the menu in the PROPERTY column.Under PROPERTY, click Tracking Info > Tracking Code. Your ID is displayed at the top of the page.
5. Creating tags.
5.1. Click on Tags menu item:
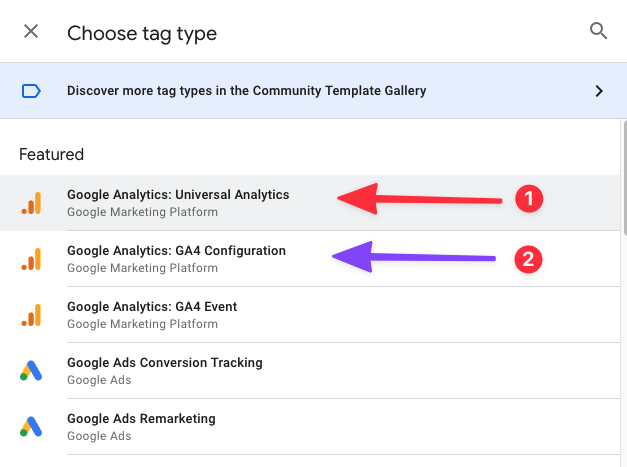
5.2. Click on “New”, then define the name for the tag and click on “Edit” icon in the new window. Now select Google Analytics: Universal analytics for GA accounts that use tracking code prior version for OR Google Analytics: GA4 configuration for version 4 tracking codes:
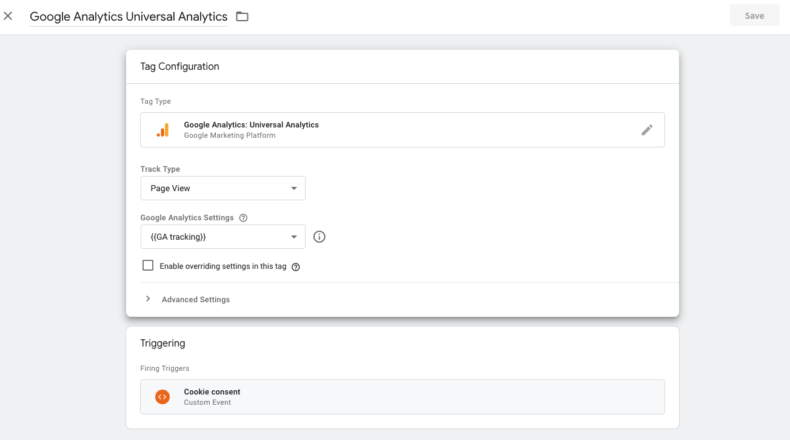
5.3. For universal analytics tag type we select “Track type” as “Page View” and select our GA tracking variable in the next setting. In the next section we select the trigger we created in the step 3. Now save everything.
6. Click on “Submit” button in the left upper part of the screen. In the new modal window add name of the new version and description (optional). Then click on “Publish” button.
That’s it! GA tracking code will be inserted automatically to our web site whenever a custom JS event ‘consent_given’ fires. In the second part of the tutorial we will learn how to create a cookie consent popup window and fire the custom JS event ‘consent_given’ when user actually gives consent.

Ready to build like a professional?
Transform your WordPress workflow with professional-grade visual development. No more compromising between speed and quality.